💡 What is a Prototype?
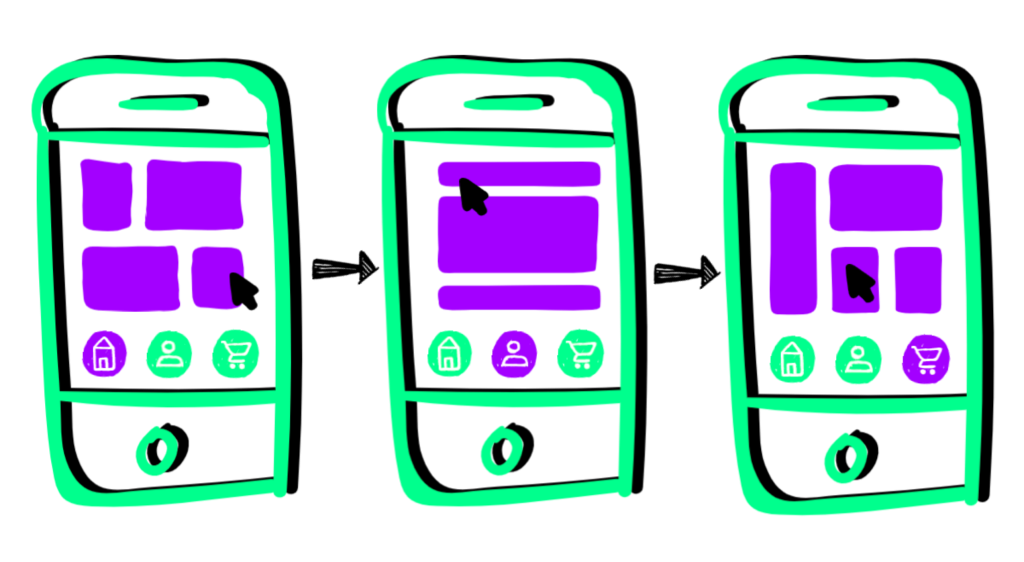
A prototype is a working model or simulation of a proposed product, service, or system. It acts as a representation of the final product, allowing you to test and validate concepts and gather feedback from potential users. The level of fidelity in prototypes can vary, from low-fidelity paper mockups to high-fidelity, polished representations that closely resemble the final product.
🚀 Why is Prototype Development Important?
Prototype development is crucial for you as startup founders as it enables you to test the viability, functionality, and user-friendliness of your product or service before full implementation. It ensures that the solution aligns with user needs, making the development process more efficient and reducing the risk of failure. The benefits of previous prototype development include:
- User Validation: Test the desirability of your product or service idea among your target customers.
- Rapid Iteration: Quickly iterate and refine your concept based on user feedback.
- Problem Identification: Identify pain points and challenges faced by users to enhance your solution.
- Enhanced User Experience: Evaluate and improve the overall user experience, making your product more intuitive.
- Market Alignment: Validate the product-market fit and assess customer demand before full-scale development.
- Optimized Features: Gather feedback on features and design to prioritize and optimize for user preferences.
🗒️ Prototype Development Step-by-step
Crafting a compelling prototype is a pivotal stage in product development. Following this systematic step-by-step approach ensures your prototype not only aligns with your brand but also effectively addresses challenges, making it a powerful tool for validating ideas and gathering valuable user feedback.
✅ Step A: Define the Storyboard & Goals
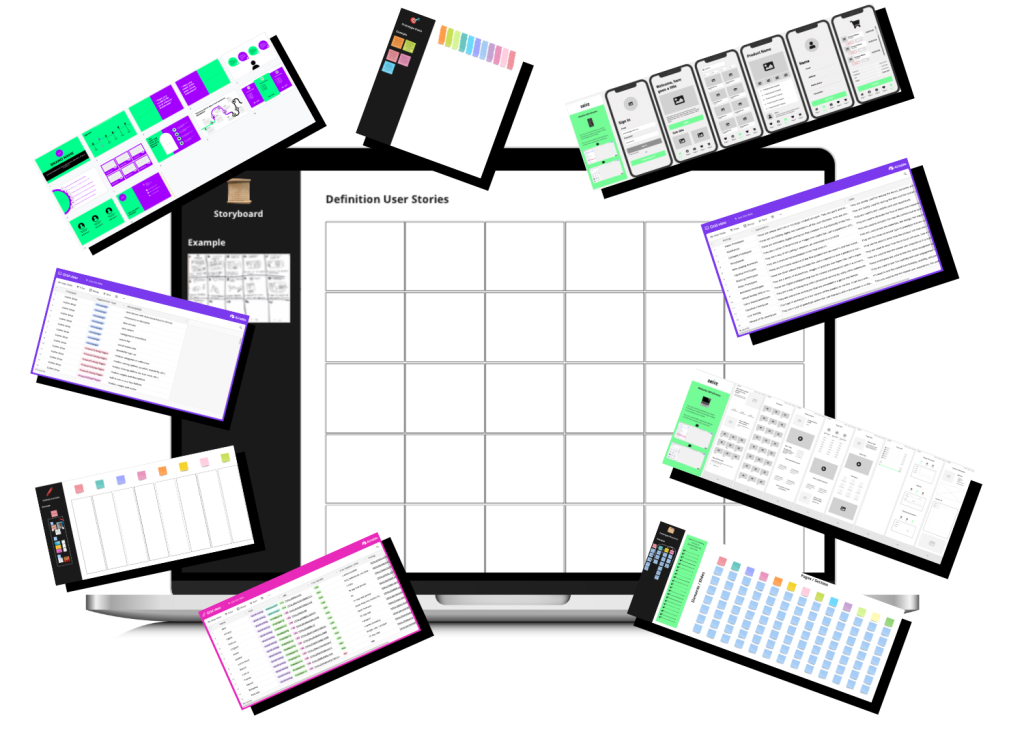
- Storyboard Creation: Start by drafting your user story through a visual storyboard to illustrate the flow of interactions. Use a whiteboard or similar to describe each user step and touchpoint.
- Prototype Goals: Identify specific problems or challenges the prototype aims to solve. Define goals such as validating product-market fit, assessing customer demand, and gathering feedback on features and design.
✅ Step B: Choose Your Prototype and Define the Structure
- Choose Your Prototype: Select the prototype that best suits your product or service — for example in the form of a website mock-up, mobile app mock-up, or a product presentation that showcase your offering. Opt for a website wireframe if your offering is digital and accessible online, a mobile app wireframe for mobile-focused experiences, or a product presentation prototype for showcasing physical or digital products through a structured presentation.
- Define the Structure: Next focus on crafting a user-friendly structure. Define how you will organize the content of the mockup or presentation in a clear and consistent way facilitating easy discovery. Design a user flow that guides users seamlessly through essential features and actions, utilizing visual cues for a smooth and intuitive experience. These considerations set the groundwork for developing an effective prototype that represents your product or service experience.
✅ Step C: Create the Content
- Copywriting: Craft clear and concise messages that communicate the value of your product. Focus on benefits-driven language, emotionally resonant content, and effective calls-to-action. Also ensure consistency with branding to make it look as realistic as possible.
- Visuals: Select or create visuals that are relevant, aesthetically pleasing, and consistent with branding. Use visuals to create engagement, break up text, and establish an emotional connection with visitors.Consider color tones and appeal to your specific target audience with visuals.
✅ Step D: Build the Prototype
- Design your Layout: Utilize a wireframe (e.g. Miro) or presentation (e.g. Google Slides) tool to build a clear and simple prototype layout. Maintain consistency in visual design to reflect your brand. Incorporate text copies and visuals according to the previously defined structure.
✅ Step E: Test your Prototype
- Once you’ve completed building your prototype, you’ll want to evaluate it with potential target customers. But before you do so make sure to test it internally with the whole team. Here is an internal testing checklist:
- Ensure usability, intuitive navigation, and completion of tasks.
- Verify functionality, confirming that all features and interactions work as intended.
- Evaluate content accuracy, organization, and visual appeal.
- Check performance, including loading speed and smooth functionality.
- Align prototype with branding and messaging.
- Test on different devices and browsers for compatibility.
In conclusion, prototype development is a crucial phase for you to validate and refine your product or service ideas. By following a structured approach, including storyboard creation, goal definition, structure planning, content creation, prototype building, and internal testing, founders can enhance the chances of success and efficiently address user needs. Embrace the prototype mindset of simplicity, user-focus, and adaptability for optimal results.

Get Ready-to-Use Templates and Practical Guidances . 🚀
Check out our basecamp for founders for practical guidance and templates on Market Environment Analysis and many more business building methodologies.

